

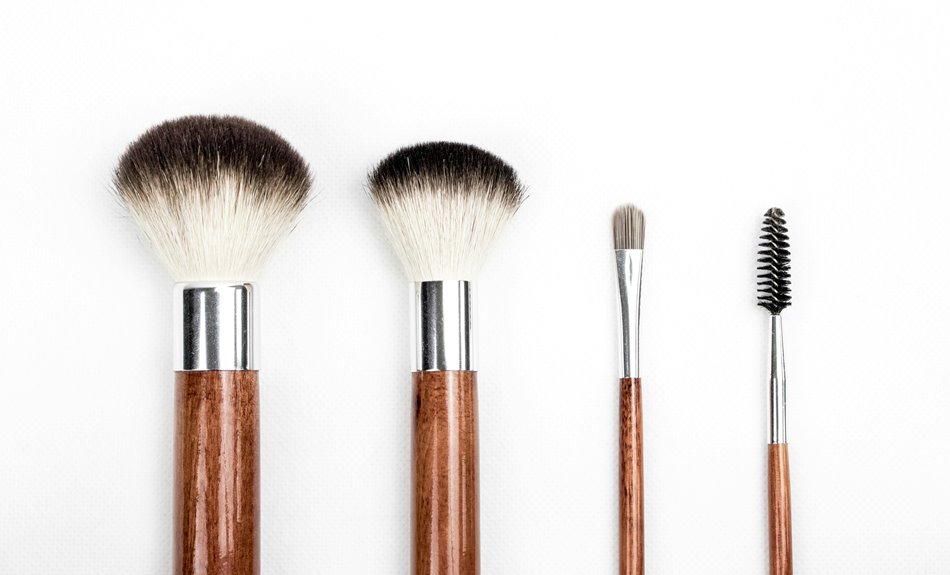

Dirty brushes can quietly ruin a smooth makeup look, so you need a simple system that actually gets deep into the bristles without damaging them. You’ll start with the right water, cleanser, and tools, then move into methods for breaking down stubborn buildup, dislodging trapped product, and rinsing safely. After that, you’ll handle disinfection and drying the right way, so your brushes stay soft, clean, and ready for the next use.
Why Clean Makeup Brushes Regularly
Regularly cleaning your makeup brushes does more than keep them looking nice. It helps you protect your skin and your routine.
Whenever you use dirty bristles, oil, old makeup, and germs build up fast, which can lead to skin irritation and breakouts. It can also cause product contamination, so your foundation or shadow won’t apply the way you expect.
Through cleaning your brushes often, you keep each swipe smoother and each color truer. You also help your tools last longer, so you feel ready and confident every time you sit down to get ready.
That small habit makes a big difference, because your brush kit should support you, not work against you. Even quick cleans between deeper washes can keep your set fresh and your skin happier.
What You Need to Clean Makeup Brushes
To clean your makeup brushes well, you only need a small set of simple tools, and each one helps in a different way.
Start with a bowl of lukewarm water, a gentle brush cleanser, and a soft silicone mat or pad.
Keep a clean towel nearby so you can blot moisture without roughing up the bristles.
Should you want extra care, use mild soap or baby shampoo for a lighter wash, and reach for alcohol spray whenever you need fast hygiene between uses.
Good brush storage also matters, since dry, protected brushes stay cleaner longer.
Travel cases can help too, especially whenever you pack brushes with your favorite kit.
With these basics, you’re set up for a routine that feels easy, tidy, and made for you.
How to Clean Makeup Brushes by Hand
Cleaning your makeup brushes by hand gives you more control, and it’s gentler than you might expect. You join a simple care routine that supports brush preservation and keeps bristle alignment neat.
To begin, wet the bristles with lukewarm water, then add a small amount of cleanser to your palm. Next, swirl the brush in gentle circles and massage the fibers with your fingers. Rinse until the water runs clear, but keep the ferrule dry.
- Use light pressure.
- Shape the bristles with your hand.
- Lay the brush flat on a towel to dry.
As you repeat this weekly, you protect the feel of each brush and help your kit stay ready for your next look.
How to Remove Stubborn Buildup With a Brush Mat
A brush mat gives you a textured surface that grips the bristles and helps lift away makeup that plain rinsing can leave behind.
You can work the brush in small circles and back-and-forth strokes, and the grooves help pull stubborn residue out without rough scrubbing.
Whenever buildup clings to the base or the tips, this simple tool makes deep cleaning feel easier and a lot less messy.
Brush Mat Basics
Often, a brush mat can save you a lot of scrubbing whenever your makeup brushes start holding onto heavy buildup. You’ll feel right at home with this simple tool because it turns messy cleanup into a steady routine. The silicone benefits are easy to love: it grips the bristles, protects their shape, and helps you work with less effort.
For textured maintenance, you just glide the brush across the raised patterns while keeping the motion light and controlled.
- Wet the bristles initially.
- Add cleanser and swirl gently.
- Move across the mat until the foam looks clean.
Then rinse and repeat should you need to. Whenever you employ a brush mat this way, you keep your kit fresh, and you join the crowd that treats clean tools like part of the look.
Lifting Stubborn Residue
Whenever buildup digs in, your brush mat can help you lift it out without beating up the bristles. You’ll feel more in control whenever product residue clings to the base, and that’s normal after heavy use.
Add a little cleanser to the mat, then move the brush in short, easy passes so the grooves catch makeup without rough scrubbing. Should a stain still linger, keep going with gentle circles until the color lightens.
This stain removal step works best whenever you match pressure to the brush, not the mess. Next, rinse the bristles and check the center, where buildup likes to hide. With a calm rhythm, you protect the shape, keep your tools cleaner, and make the whole routine feel less like a chore.
Deep-Clean Scrubbing Technique
Now that you’ve lifted the loose buildup, you can use the brush mat to scrub out the stubborn stuff that hides deeper in the bristles. Hold the brush at a slight angle and move it in small circles on the textured surface. That steady pressure gives you heated agitation without bending the hairs too hard. Should the brush still feels slick, add a little cleanser and keep going.
- Swirl the tips initially, then work the side of the bristles.
- Rinse often so the loosened makeup doesn’t settle back in.
- Repeat until the water runs clear and the brush feels soft again.
You’re not alone in this step. Many brush lovers rely on this method, and some pair it with ultrasonic cleaning for extra-deep care.
How to Clean Makeup Brushes With Soap and Oil
A good soap-and-oil clean can bring tired makeup brushes back to life without making the job feel like a chore.
You start with wetting the bristles with lukewarm water, then add a small drop of oil along with a dab of gentle soap. The oil helps loosen heavy makeup, while soap compatibility matters because the right soap lifts residue without leaving a film.
Work the mixture through the bristles with your fingers or a silicone pad, and you’ll see oil emulsification turn the grime milky and easy to rinse away.
Rinse until the water runs clear, then squeeze out excess moisture with a clean towel.
Let the brushes dry flat or upside down so they keep their shape and stay ready for your next look.
How to Disinfect Makeup Brushes Safely
You can keep your brushes safer through disinfecting them with the right products and gentle steps, so you don’t damage the bristles or the glue that holds them together.
Start cleaning the brush initially, then use 70% isopropyl alcohol or another safe disinfectant on the bristles and handles.
After that, let them air dry fully, because trapped moisture can invite bacteria right back in.
Safe Disinfection Steps
At the moment you disinfect makeup brushes safely, the goal is to kill germs without ruining the bristles or loosening the glue. You can do that via checking chemical compatibility initially, then choosing 70% isopropyl alcohol or a gentle antibacterial mix that suits your brush type. To keep your routine steady, use storage rotation so the brushes you just cleaned don’t get mixed back into the dirty set.
- Lightly spray or wipe the bristles, not the ferrule.
- Let the disinfectant cover the fibers evenly.
- Use a clean cloth to lift away residue right after.
If you use acne-safe sprays between shades, you’ll feel more confident and less grossed out. That small habit keeps your kit fresh and helps you stay in the club of people who actually care about clean tools.
Drying After Sanitizing
Once you’ve sanitized your makeup brushes, drying them the right way matters just as much as the cleaning itself. You should gently squeeze out water with a clean towel, then reshape the bristles with your fingers.
Next, place them where airflow placement helps the bristles dry fast, like on the edge of a counter with heads tilted down. This keeps water from sliding into the ferrule, where trouble can start.
In case you use fabric liners, keep them dry too, so they don’t trap dampness against the brush. Also, skip brush cases until every strand feels fully dry.
A little patience now helps your tools stay soft, safe, and ready for your next look.
How to Dry Makeup Brushes Without Damage
After washing, drying your makeup brushes the right way matters just as much as cleaning them. You want the bristles to keep their shape, so lay them flat with the tips just over the edge of a counter. That air dry positioning lets water move away from the ferrule, which helps protect the glue. In case you’re in a rush, gently wrap the handles in microfiber wraps to soak up extra moisture, then unfold them right away.
- Pat the brush head, don’t rub it.
- Keep the bristles facing down or angled.
- Give each brush space so it can breathe.
You’re part of a cleaner beauty routine whenever you let brushes dry fully before using them again. Tiny habits like these keep your kit soft, neat, and ready for your next look.
How to Keep Makeup Brushes Cleaner Longer
Frequently, the easiest way to keep your makeup brushes cleaner longer is to stop buildup before it starts. You can do that with quick spritzes after use, then let the bristles breathe. Use antimicrobial sprays between shade changes, especially if you’re rushing out the door.
| Habit | Why it helps |
|---|---|
| Clean after use | Stops product from hardening |
| Dry fully | Blocks damp odor |
| Store upright | Keeps bristles shaped |
| Use travel friendly cases | Reduces dust and friction |
| Wipe handles | Cuts extra grime |
A small routine like this helps you stay in the same beauty crew without the sticky mess. Whenever you travel, pack brushes only provided they’re dry, and keep them apart from powders and lip colors. That way, your tools stay fresher, and you’ll spend less time scrubbing later.
Frequently Asked Questions
How Often Should Makeup Brush Cleaners Be Replaced?
Replace your makeup brush cleaner when it turns cloudy, starts to smell unusual, or reaches its recommended replacement interval, especially if it has been stored in less than ideal conditions. This helps keep your tools clean, fresh, and ready to use.
Can Natural Hair Brushes Be Sanitized Differently Than Synthetic Ones?
Yes. Natural hair brushes, especially boar bristles, need gentler detergents and less soaking than synthetic brushes do. Use mild shampoo to protect their softness, while synthetic brushes can handle stronger cleaners and faster disinfecting.
Do Brush Cleaners Expire or Lose Effectiveness Over Time?
Yes, brush cleaners can expire or become less effective over time, especially if the ingredients separate or degrade. Check the ingredient list, follow the PAO date, and rely on microbial testing when choosing formulas that keep your routine safe.
Is It Safe to Clean Brushes With a Washing Machine?
No, a washing machine is a bad choice for brushes. The spinning and agitation can bend bristles, weaken the glue, and damage the handle. Hand wash them instead, then dry them carefully so they keep their shape and softness.
How Should Brush Cleaning Change for Travel Kits?
When you travel, use a small kit and disposable tips, then clean them with a quick spray after each use and give everything a deep wash when you get home.
