

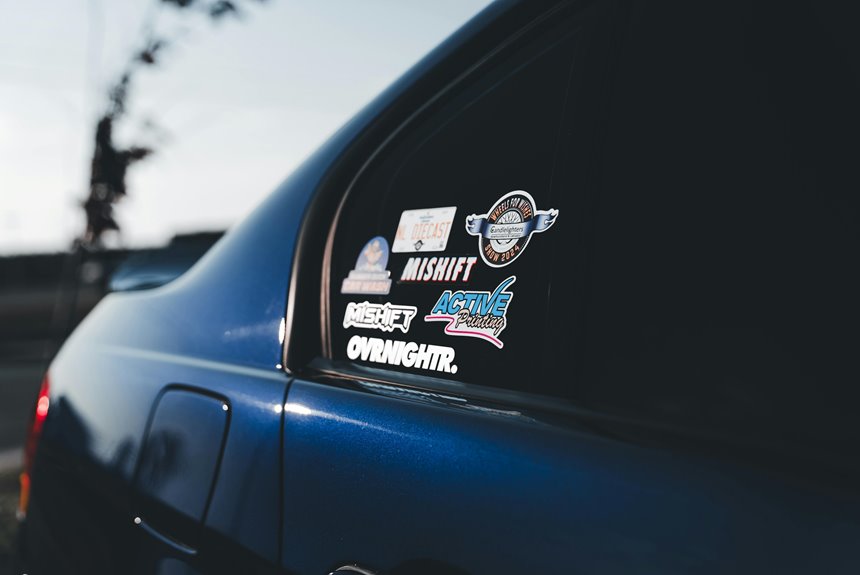

Remove decals by warming the sticker, peeling it back slowly, and cleaning away the leftover glue. Start by washing the area so dirt does not scratch the paint. Use gentle heat from a hair dryer to loosen the adhesive. Then lift a corner and pull steadily, keeping the angle low.
What You Need to Remove Car Decals
Before you start peeling, gather a few basic tools so the job goes smoothly: soap, water, a sponge, a chamois cloth, a plastic scraper, a microfiber cloth, and an adhesive remover that’s safe for automotive paint.
You’ll also want to know your decal types, because vinyl, factory lettering, and layered graphics respond differently. Check the adhesive properties, too; older decals usually bond harder and might need more patience.
Keep a clean workspace, and set everything within reach so you can work confidently. In case you’re removing a large decal, have extra microfiber cloths ready for residue.
Choose plastic tools only, since metal can scratch paint. With the right supplies, you’ll fit in with the people who handle decal removal carefully and get better results.
Clean the Car Surface First
Now that you’ve gathered the right tools, start with washing the decal and the surrounding paint with soap, water, and a sponge to lift away dirt, dust, and road grime.
Clean edges carefully so grit won’t drag across the finish as you work. Rinse well, then dry the area with a chamois or soft microfiber cloth to keep water spots and scratches from forming.
This prep helps you read decal types more clearly and judge adhesive properties prior to beginning removal. A clean surface also gives you better control, so you’re working with your car, not against it.
Should you be part of a detail-minded crew, this step sets you up for smoother progress and a cleaner finish. Inspect the panel once more before moving on.
Heat the Decal to Loosen It
Use gentle heat to soften the decal’s adhesive and make peeling easier. Aim a hair dryer on low, or a heat gun on its lowest setting, and keep your heat application moving. This steady warmth changes the adhesive properties so the decal releases more cleanly. Work in short passes, especially on corners and edges, and stop before the surface feels hot to the touch.
| Tool | Setting | Best Use |
|---|---|---|
| Hair dryer | Low | Safe, even warming |
| Heat gun | Lowest | Faster spot heating |
| Sunlight | Natural | Mild preheating |
| Hand test | Touch | Check surface warmth |
If the decal cools, reheat it in stages. You’ll stay in control, protect the finish, and set yourself up for smooth removal with confidence.
Peel Off the Decal Slowly
Lift one corner of the decal with your fingers or a plastic scraper, then peel it back slowly at a shallow angle. You’ll keep better control whenever you pull steadily instead of jerking.
Should the decal resist, pause and warm that section again. Different decal types respond differently because adhesive properties vary with age, finish, and exposure.
For large graphics, work in short sections so you don’t stretch the material or lift paint. Keep your other hand close to the surface to guide the edge and catch any sudden tear. A slow, even peel helps you stay in control and finish with a cleaner panel.
In case the decal starts to split, stop and adjust your angle before continuing.
Remove Leftover Adhesive
Apply an automotive-safe adhesive remover to the sticky residue and let it sit for a few minutes so it can dissolve the glue. Then wipe with a microfiber cloth using steady pressure. Should the residue linger, switch to gentle adhesive solvents and repeat your removal techniques without scrubbing hard.
- Test the product on a concealed spot initially.
- Work in small sections so you stay in control.
- Reapply remover only where the glue remains.
- Finish with soap and water to clear any film.
You’re not alone should the last traces look stubborn; most decals leave a little behind. Keep your motions calm and precise, and the surface will feel clean again.
Avoid metal tools, and use only paint-safe products so your car stays looking sharp and cared for.
Remove Stubborn Car Decals Safely
When a decal refuses to budge, soften it with low, even heat from a hair dryer or heat gun kept moving so you don’t damage the paint.
Work one edge at a time, then lift it with a plastic scraper or your fingernail at a shallow angle. If the decal tears, reheat the section and peel slowly in a side-to-side motion.
Different adhesive types respond differently, so test a small area and adjust your decal removal techniques. For thick, aged graphics, warm the surface in stages and give the adhesive a minute to relax between passes.
Stay patient and keep steady pressure; rushing invites breakage and frustration.
You’ve got this, and careful steps help you finish with confidence, control, and a cleaner look.
Protect the Paint as You Work
To protect the paint as you work, keep every tool nonmetallic and use only light pressure so you don’t nick the finish. You’re part of the careful crowd now, and that means treating paint protection like a habit, not a guess.
Follow these steps for steady surface care:
- Use plastic scrapers, microfiber cloths, and soft towels only.
- Hold tools at a shallow angle so they glide, not dig.
- Support loose edges with your free hand to limit strain.
- Stop often to inspect for scuffs, dust, or concealed grit.
Work in good light, keep the area clean, and don’t rush. Should you feel resistance, ease up and reset your grip. That’s how you protect the finish and keep the car looking sharp.
Remove Residue and Light Marks
Once the decal is gone, wipe away any sticky residue and faint marks with an automotive-safe adhesive remover or a little rubbing alcohol on a microfiber cloth.
Work in small circles, then switch to straight strokes for clean residue removal without smearing. Should the spot resist, try adhesive alternatives like diluted vinegar or a paint-safe remover, but test them initially on a concealed area.
Keep the cloth damp, not soaked, and use light pressure so you don’t haze the finish. For stubborn edges, let the product sit briefly, then lift the residue and stop as soon as the surface feels smooth.
In a well-kept car community, careful cleanup shows genuine satisfaction in your ride and helps the panel look like it belongs.
Wash and Wax the Area Afterward
With the decal and residue gone, wash the area again with soap, water, and a soft sponge to remove any leftover cleaner or grime. You’re resetting the panel for proper decal care and a clean finish.
Rinse well, then dry it with a chamois or microfiber cloth so water spots don’t hide missed residue. Next, protect the paint with wax benefits in mind.
- Inspect the surface under bright light.
- Apply a thin coat of wax to the repaired spot.
- Buff gently until the finish looks even.
- Recheck edges for dullness or haze.
This final step helps you blend the area with the rest of your car, enhances shine, and gives you the confidence that the panel belongs with the original finish.
Avoid Common Decal Removal Mistakes
While decal removal is usually straightforward, a few common mistakes can quickly turn it into a paint repair job. Don’t rush, and don’t pry with metal tools; they can gouge paint fast.
Test heat and remover on a concealed spot initially, because decal types and finishes react differently. Keep your hair dryer moving, and peel at a shallow angle instead of yanking straight back. Should the decal cool, reheat it in stages so the adhesive stays workable.
Avoid soaking the panel with harsh chemicals; use just enough to loosen residue, then wipe with a microfiber cloth. Work patiently in sections, and you’ll stay in control, protect the finish, and fit right in with car owners who do the job carefully.
Frequently Asked Questions
Can Decal Removal Damage Factory Paint or Clear Coat?
Yes. If you rush, use metal tools, or overheat the surface, you can damage factory paint or the clear coat. Use careful decal removal methods and paint protection steps, and work slowly.
How Do I Remove Decals From Tinted Windows?
Warm the decal edge gently, lift it with a plastic scraper, then peel it back slowly. Use decal removal methods that protect window tint: keep heat low, skip metal tools, and avoid strong solvents on the tinted surface.
What Should I Do if the Decal Leaves Ghosting?
Clean the ghosting with adhesive remover, then polish the area. Not every decal type leaves a permanent mark. Warm the surface, repeat gentle wiping, and follow prevention steps to reduce ghosting.
Is Steam Better Than a Hair Dryer for Decal Removal?
Steam often works better for decal removal because it softens adhesive faster and more evenly, though the right choice still depends on the decal material. Use low heat, keep the source moving, and test a small area first to avoid damaging the paint.
How Long Should Adhesive Remover Stay on the Surface?
Usually, allow the adhesive remover to remain on the surface for 2 to 5 minutes. On a stubborn vinyl sticker, the edges may begin to lift sooner. Because different adhesives require different removal methods, test a small area first and wipe it away promptly.
